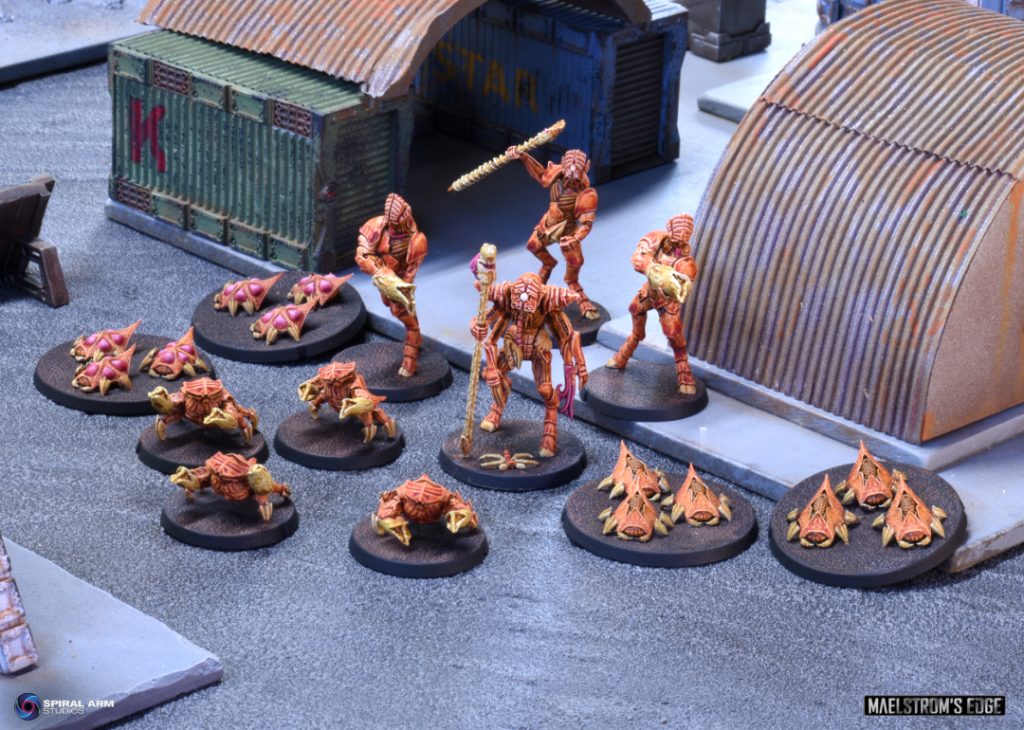
Following on from the Kaigus Pact, I shared some pics of the second of my 50 point starter forces used in the recent ‘First Encounter’ battle report – a Guardians of Alsa patrol from the Karist Enclave. You can check them out now on the Maelstrom’s Edge website here!
I recently shared some pics of my 50 point Kaigus Pact force used in the ‘First Encounter’ battle report. You can check them out on the Maelstrom’s Edge website here!
Signalling his troops into their assigned positions, Kaddar Prentis triggered his armor’s na-cybel infusers. The Kaigus had been shadowing his patrol for a week now, never coming close enough to trigger a fight, but always there on the edge of scanner range. Their twisted mockery of the human form could not be allowed to pollute the coming Ascension. Here and now, the Karist patrol would punch through their lines, putting an end to the vile creatures and cutting off their avenue for reinforcement.
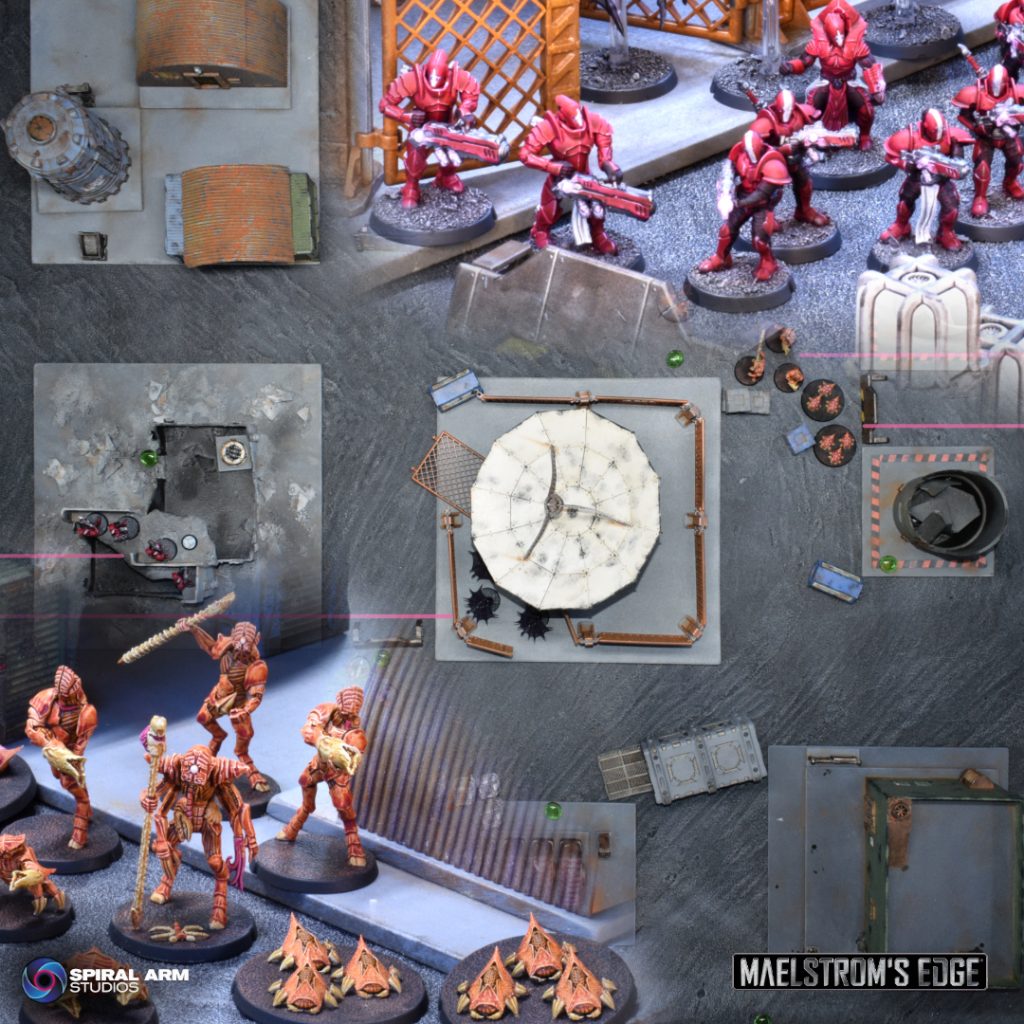
A Maelstrom’s Edge V2 battle report, using the Kaigus Pact and Karist Enclave Faction Starter Sets in a 50 point Forward Unto Victory mission! Check it out on the Maelstrom’s Edge website here!
One of my side-projects lately has been slowly working through updating the original Maelstrom’s Edge online assembly instructions to a more functional PDF format with proper step-by-step illustrations, and adding instruction documents for those that didn’t previously have them, which included the plastic PDG Gaming Gun Carriage – you can find that document on the Assembly Guides page of the Maelstrom’s Edge website here. Working on those instructions reminded me that I had always intended to add a rules page for the gun carriage to be looted by Broken forces, and so I took some time to throw something together, and add in a few other ‘missing’ models at the same time!
So, on the V2 Rules Downloads page of the Maelstrom’s Edge website, you can find a section down the bottom with the current versions of my various homebrew rules docs for each faction. These rules cover various conversions or kitbashes I have assembled over the years using miniatures from the Maelstrom’s Edge and/or other miniature ranges, and are intended as a fun way of getting these onto the table, rather than being an ‘official’ part of the game. If you want to build your own versions of these models to use in your games, by all means do so, but make sure your opponent is ok with you using them!
Most of these were rules previously available, but I have made the following changes: