Back in the dim, dark mists of the olden days (around 2008), before Forgeworld started making Contemptor Dreadnoughts, I was asked to build a dreadnought based on the artwork from the Horus Heresy cardgame. What follows here is a compilation of posts from my modeling blog on DakkaDakka as the build came together. It's fun to look back on it now and think about what I would have done differently or better if I was to do it today...
I like Dreadnoughts. It makes happy happen in my head that I get to work on another one 🙂
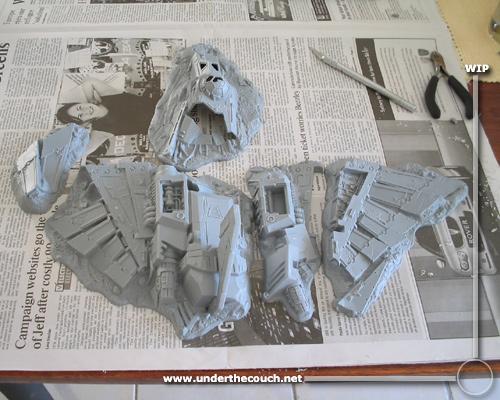
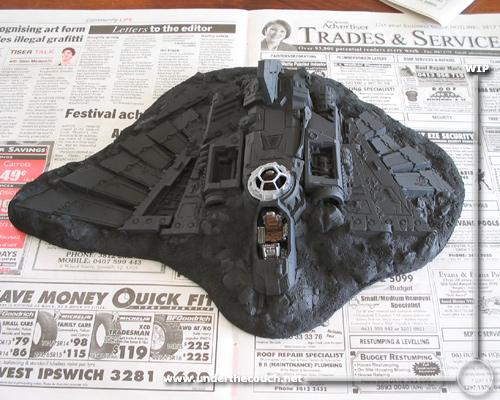
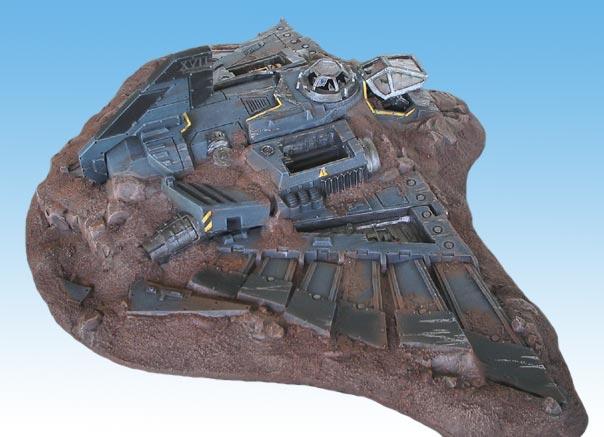
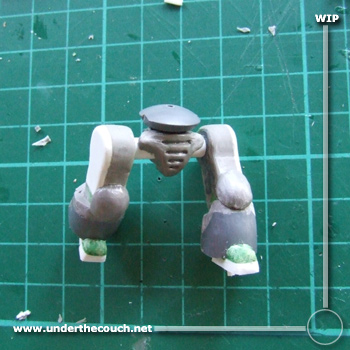
I’m taking this:
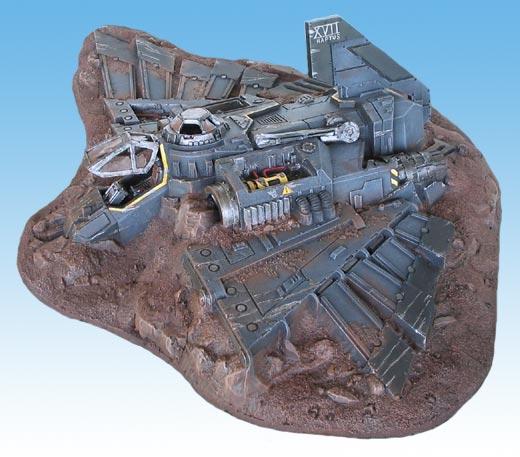
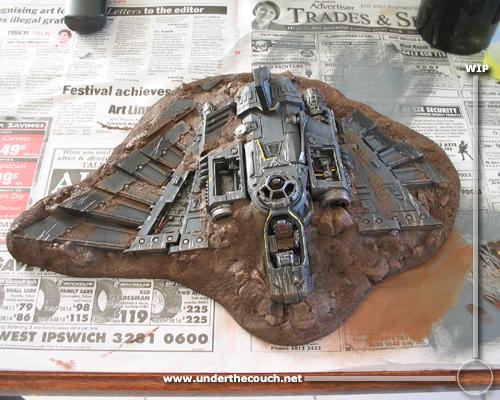
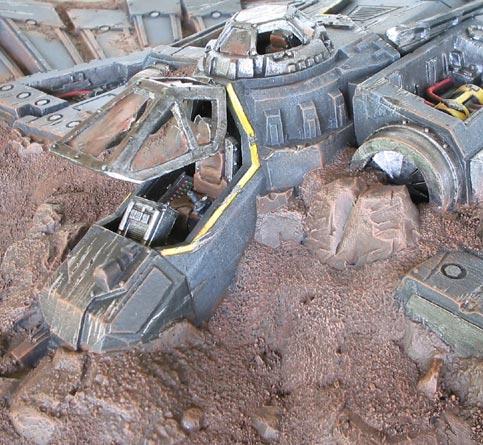
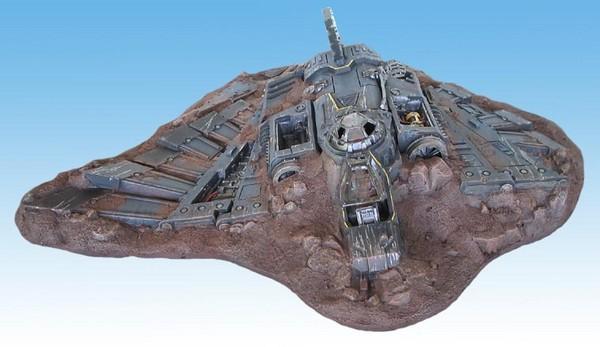
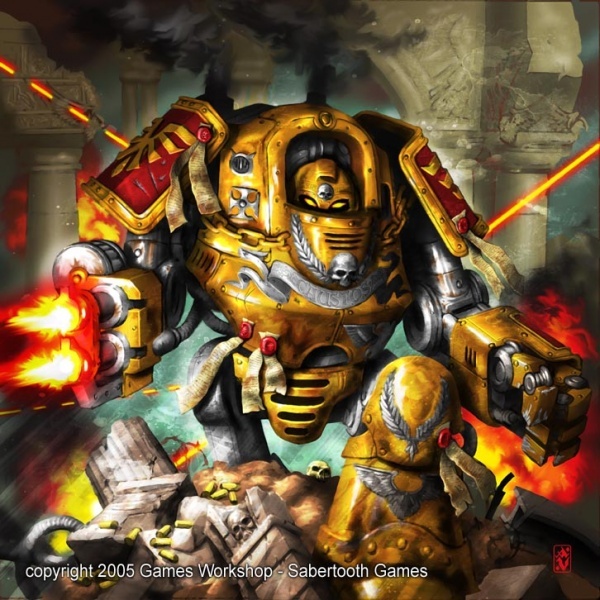
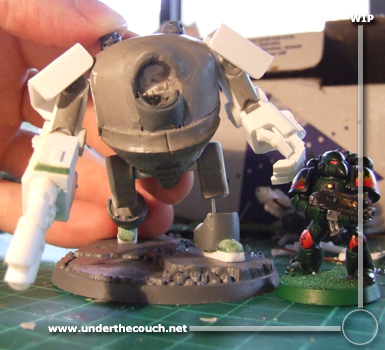
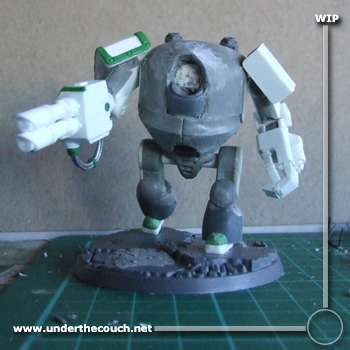
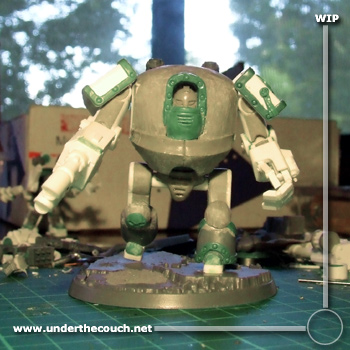
…and (hopefully) turning it into something that looks vaguely like this:
—
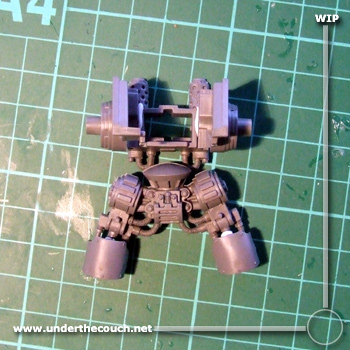
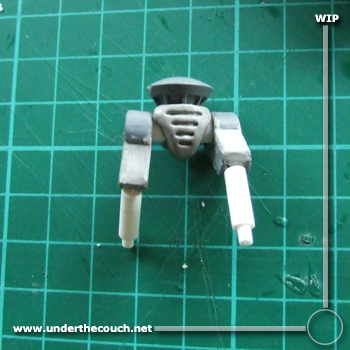
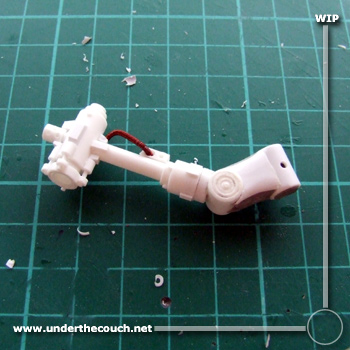
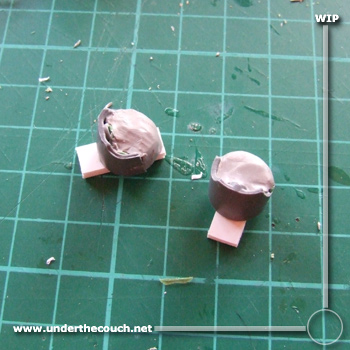
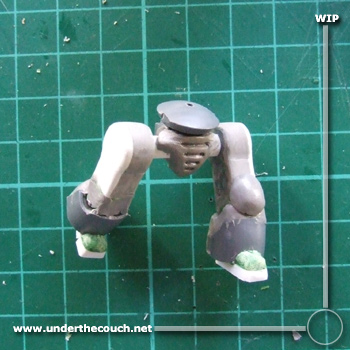
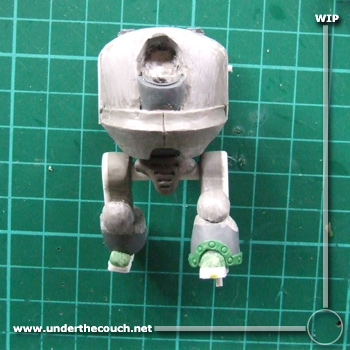
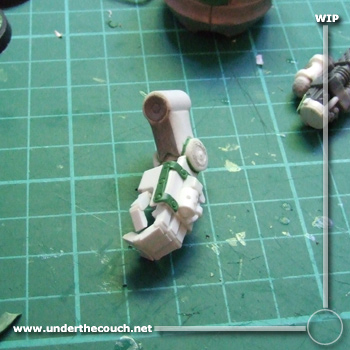
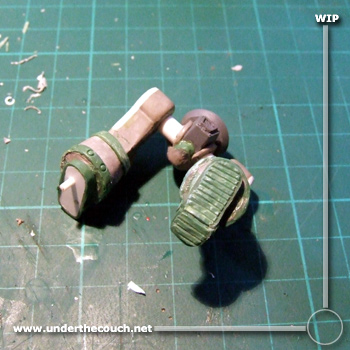
First up, the legs…
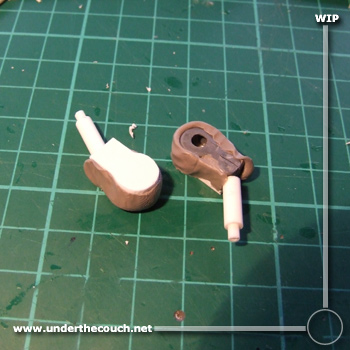
They needed to be more streamlined, and his hips needed some narrowing. So, I sliced off the external cabling and hydraulics, severed the legs at the hips and knees, and wound up with this:

Next step will be to narrow down the thighs, smooth off the tops of the hips, and give him new shins under those armour pads.
—
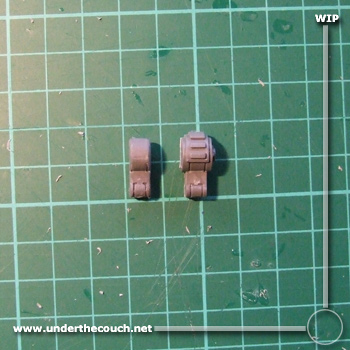
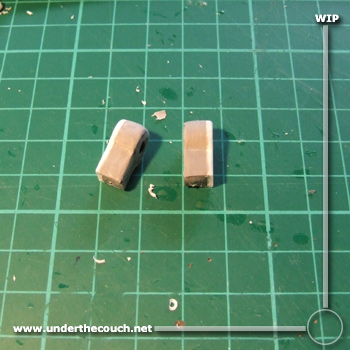
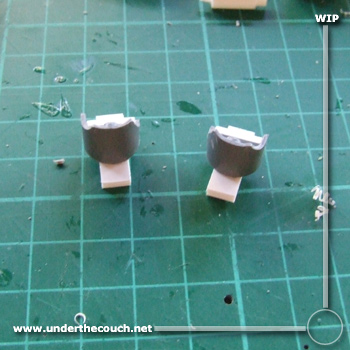
Started trimming the thighs down:
Then hacked the old hip joints and front armour off the waist piece:
Added a new hip shaft:
And busted out the ProCreate to fashion a new groin plate:
—
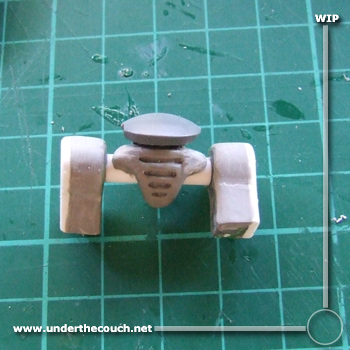
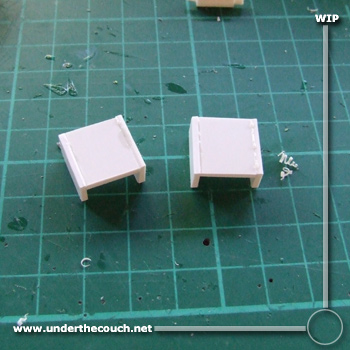
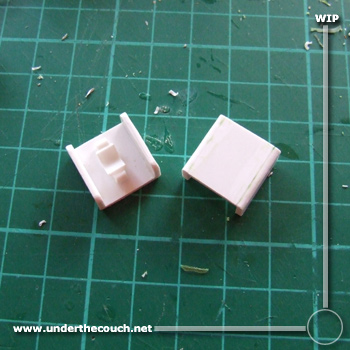
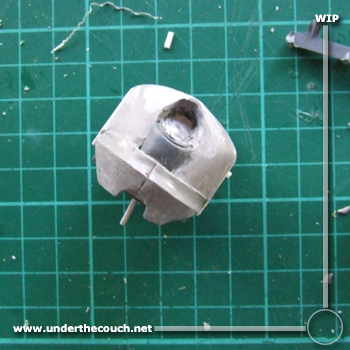
Took the torso sections and trimmed them down a little:
…so that when fitted together, they look something like this:
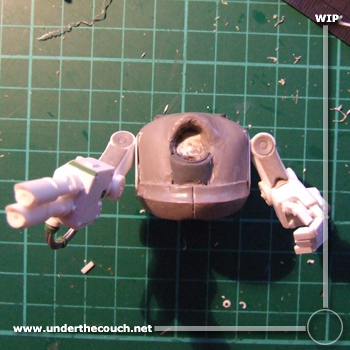
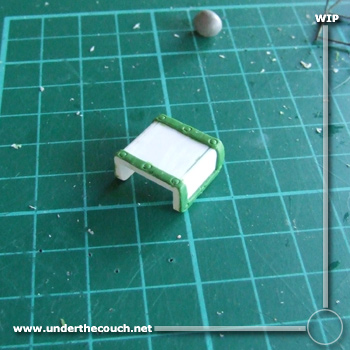
Then started adding the basic framework for the new torso plating:
—
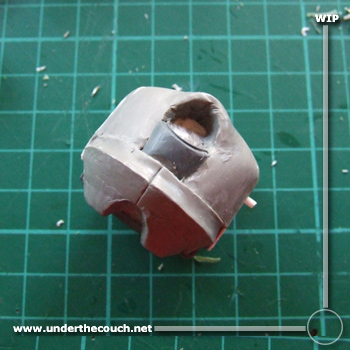
A start on the front torso panelling:
Padded out the thighs a little more:
Aded some more detail on the hip joints:
And padded out the torso a little, ready for the top layer of putty:
—
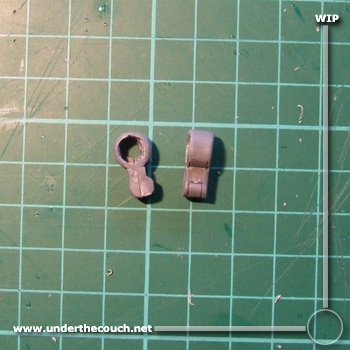
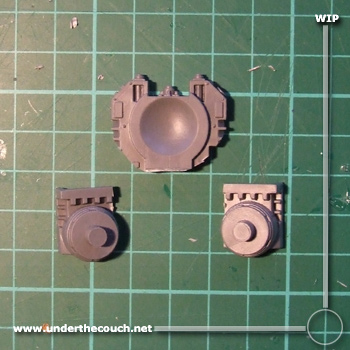
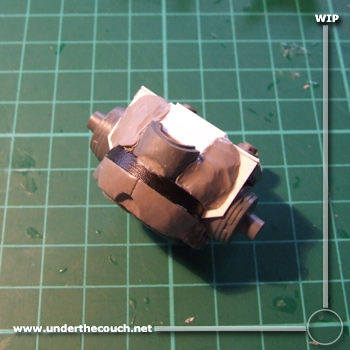
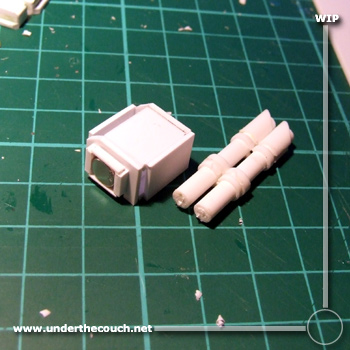
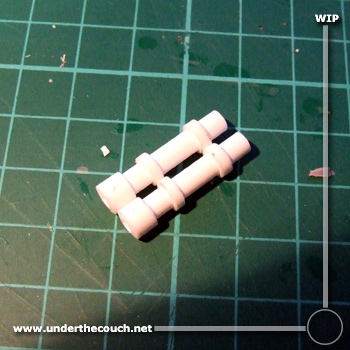
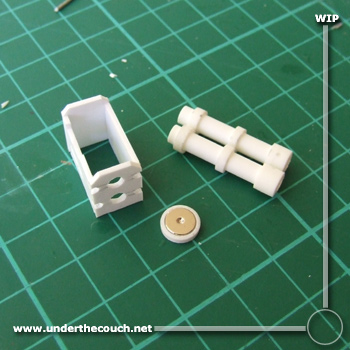
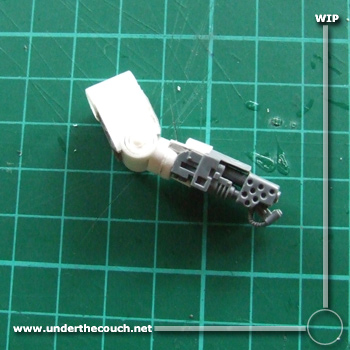
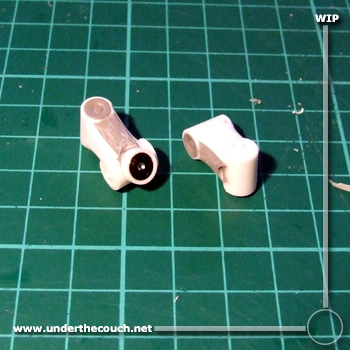
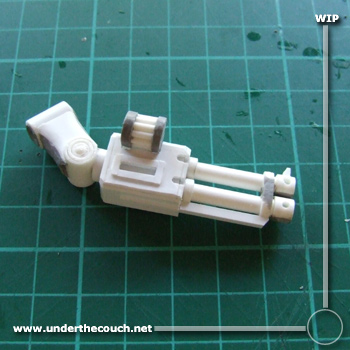
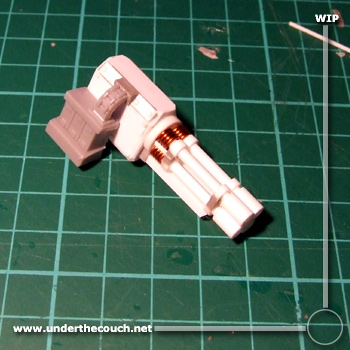
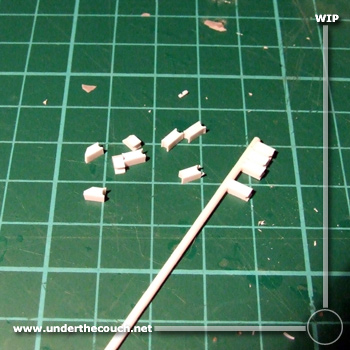
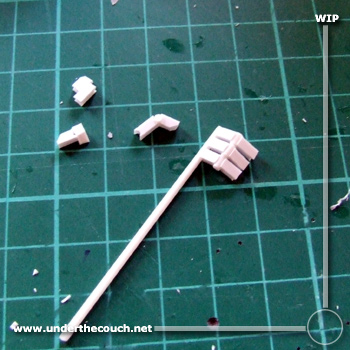
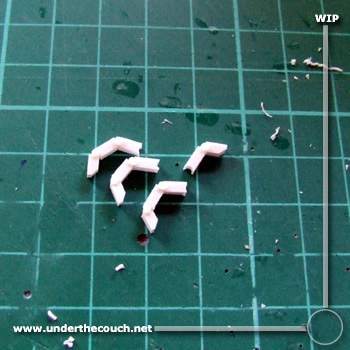
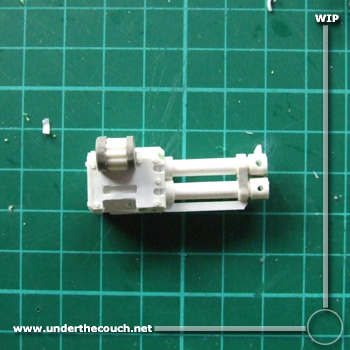
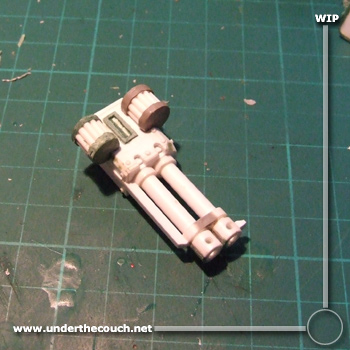
Started on the weapons. Initial bitz for the lascannons:
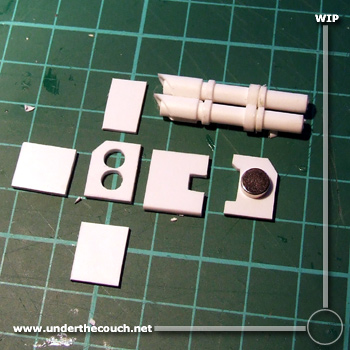
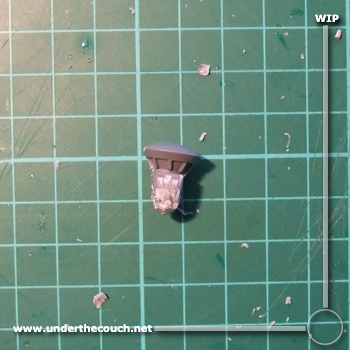
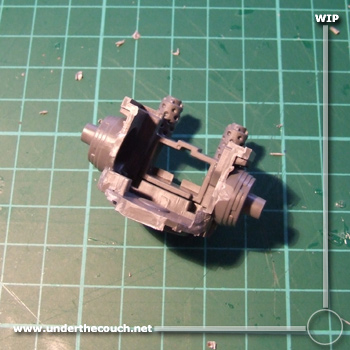
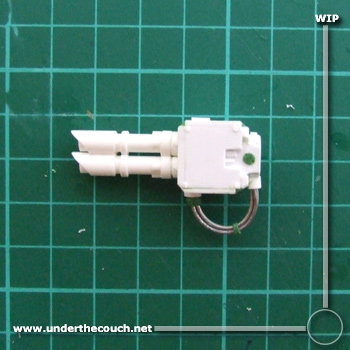
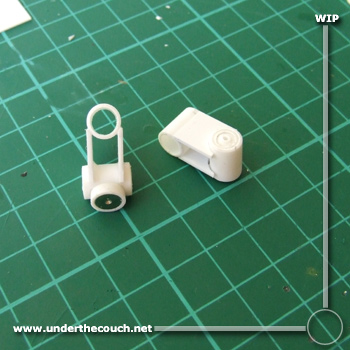
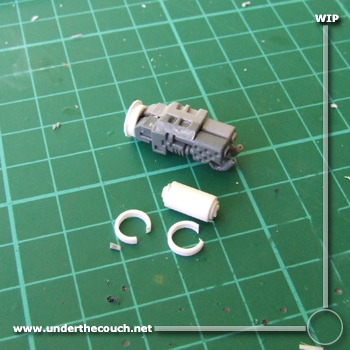
Initial assembly, with the magnet slotted on the back to attach to the arm:
Pew Pew!
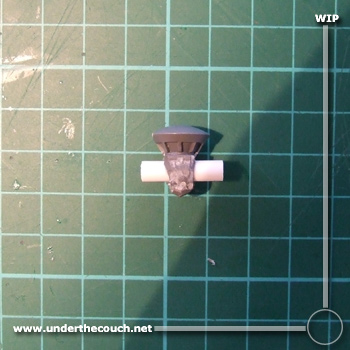
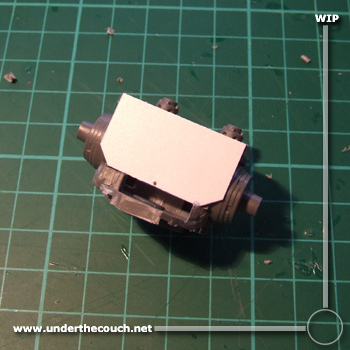
The plastic piece over the magnet shouldn’t interfere with the magnet’s awsome cosmic powers, but looks neater and stop the magnet from working loose from the glue.
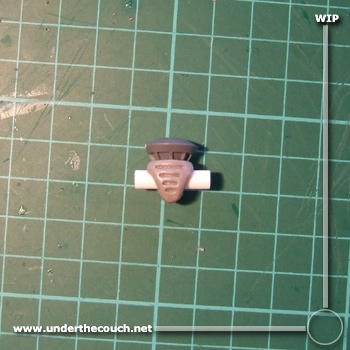
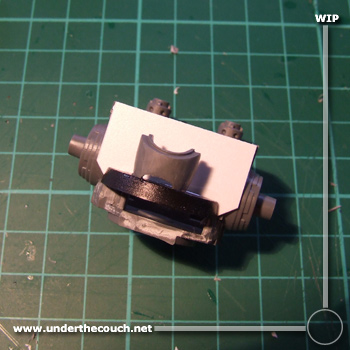
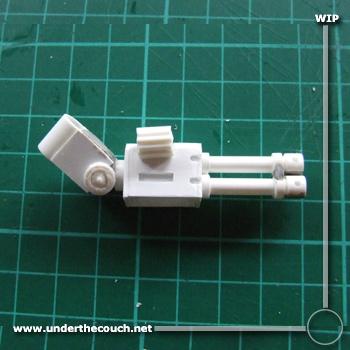
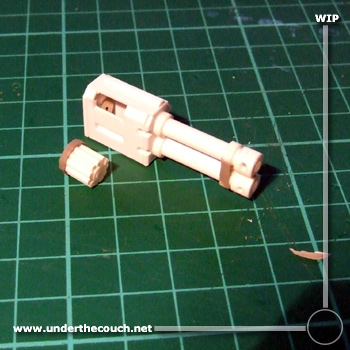
Still needs a couple more panels, and then some cleaning up and detailing.
And very early stages on the Autocannon:
—
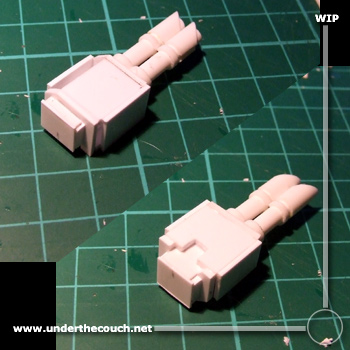
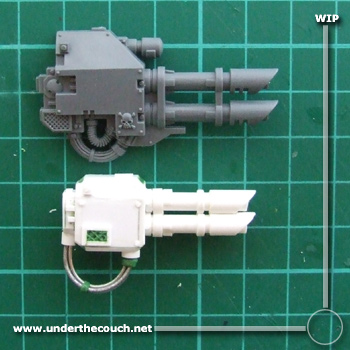
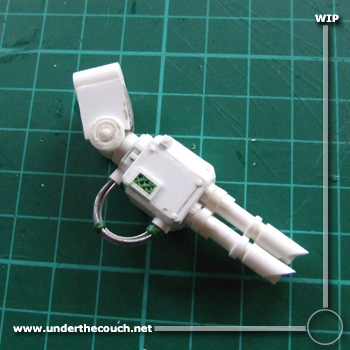
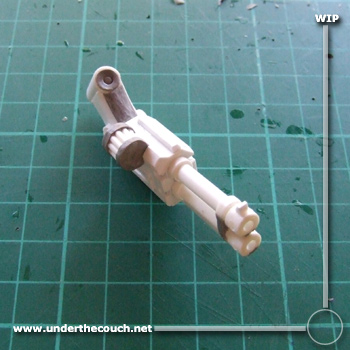
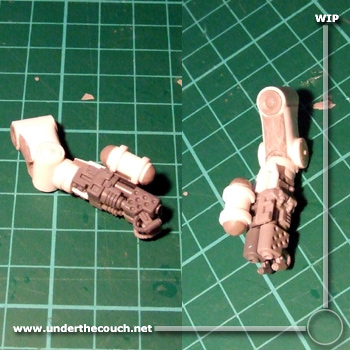
Lascannon almost finished… with a comparison shot beside a regular dreadnought Las arm:
—
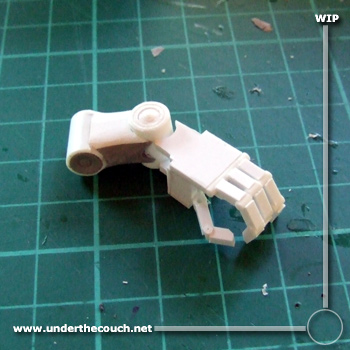
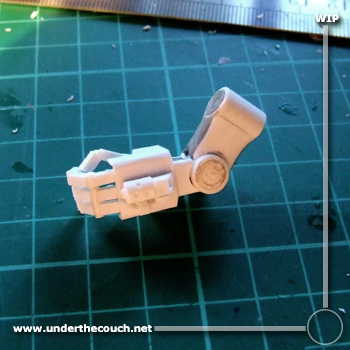
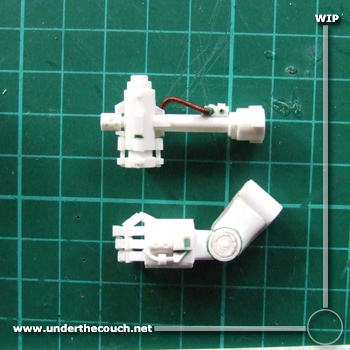
The upper arms taking shape:
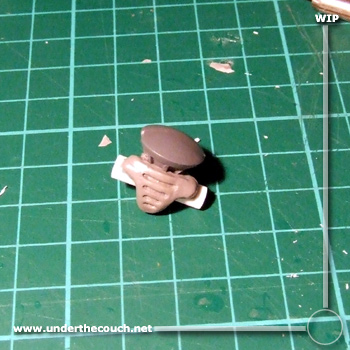
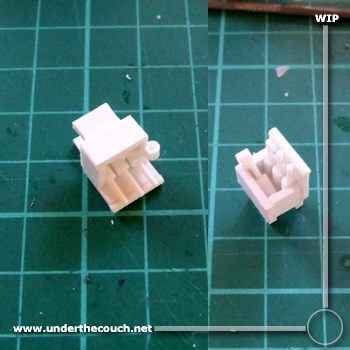
The twin autocannon ‘hand’:
And the twin heavy flamer ‘hand’:
—
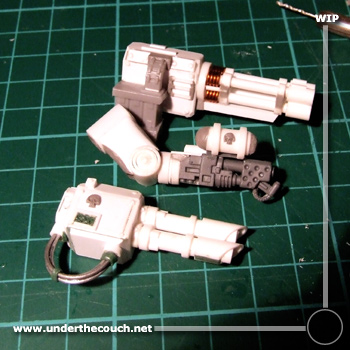
A little more assembly and filling on the weapons:
Legs taking (very basic) shape:
And rough shaping of the torso:
—
Added a bit more bulk around the waist, to get the body shape a little closer to the artwork’s:
Rounded off the upper arms and filled in the shoulder joint:
Still needs a little filling and smoothing.
Some minor work on the weapons:
And started on the final right arm weapon… Assault Cannons came in after the Heresy, which left a couple of options for this guy: Put an AC on him anyway and call it a retrofit, build a more primitive-looking AC and call it an early prototype, or build one of these:
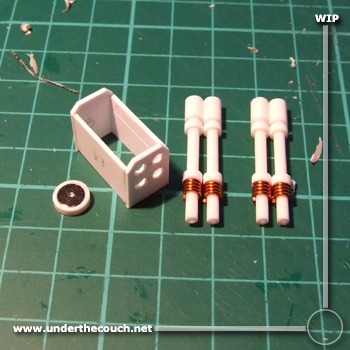
…which will eventually be a twin-linked Reaper Autocannon, intended to count as an Assault Cannon on the table.
—
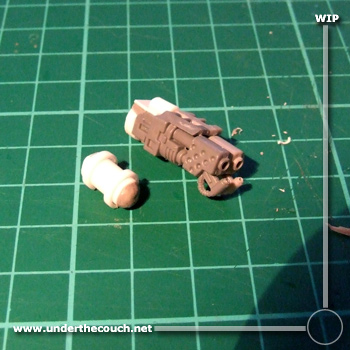
The Autocannon arm with ammo drum in place:
And basic assembly on the Reaper:
—
Gave the putty on the torso a bit of a sand down:
And then added the next ring of armour:
Finished off the Heavy Flamer’s fuel cannister:
Added some rivets (which are practically invisible in this pic 🙁 ) to the Reaper, along with some little detailing work and there:
…and started prettying them up a little with some putty left over from the torso:
Also widened the groin armour a little, as it was looking a little narrow alongside the torso:
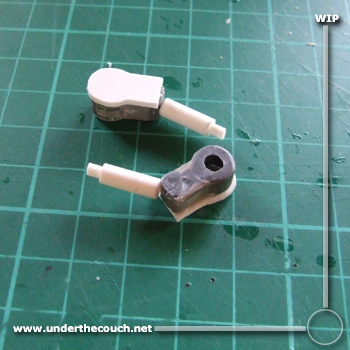
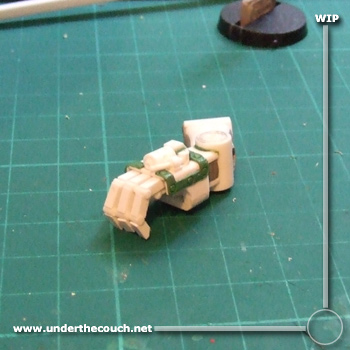
And started work on the power fist:
—
The DCCW coming together:
—
Armour plating in place, and basic assembly of the heavy flamer:
—
I decided the thighs were looking a little spindly compared to the torso… so I started bulking them out a little:
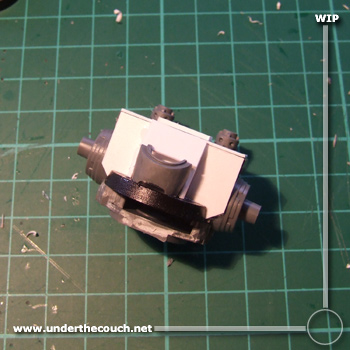
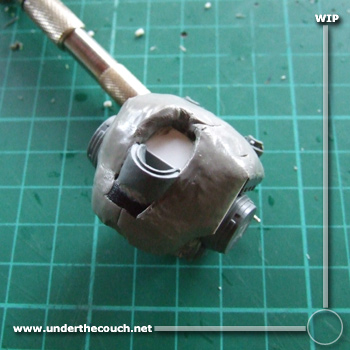
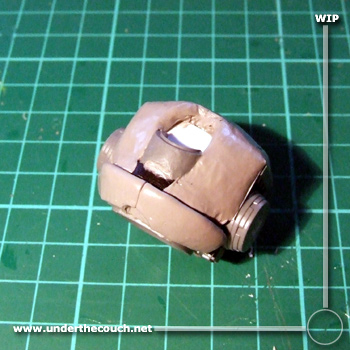
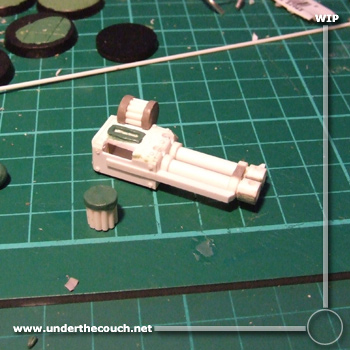
As a late addition, the Dreadnought will now be getting a Seismic Hammer, so that it can double as an Ironclad.
We haven’t yet seen what a Seismic Hammer is supposed to look like… so I came up with this:

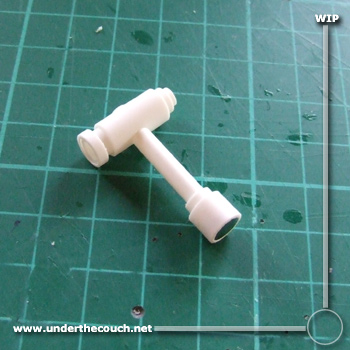
The cylinder protruding from the top is the built-in meltagun muzzle. Still some detailing to go, but the general shape is there.
Rrarw!

—
Slapped some putty on the legs:
…and then smoothed it out when set, to give new, improved, bulkier thighs.
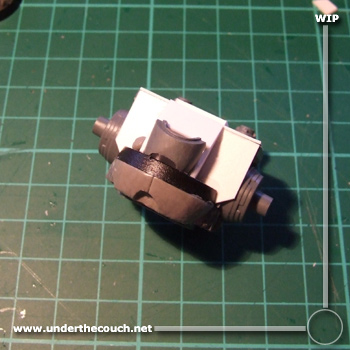
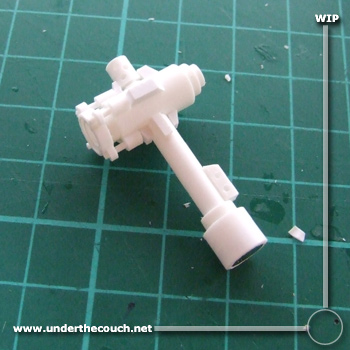
And added some more small details on the hammer:
—
Assembled the hips and upper legs, but realised that the waist joint was too long, so sawed it off and reattached the ball joint directly to the pelvis:
Started basic shaping of the lower legs:
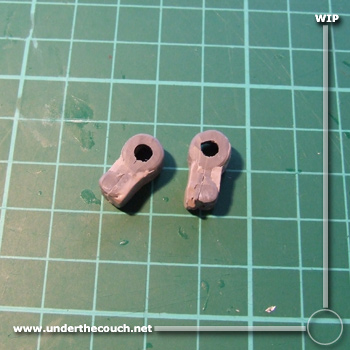
Started on the shoulder pads:
And discovered when I tried dry-fitting the shoulder pads that the shoulders were sitting too low, and were too wide.
So I sawed off the dread’s original shoulder joints, and added a plate of plasticard over the resultant hole.

Need to smooth and fill around it, and then the arms can be reattached at a better height.
—
Started bulking out the lower legs:
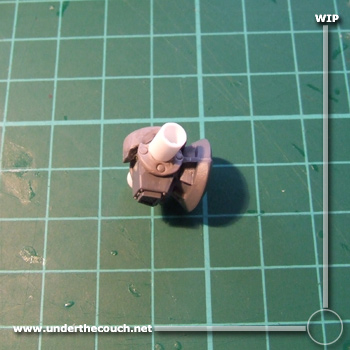
Gap-filled the shoulder pads and added a gubbin on the back to attach to the shoulders:
Re-pinned the arms in the new, up-higher position:
And filled the torso sides where the plasticard was added, and added some extra length to the belly ring, as it was too narrow (still needs sanding down):
—
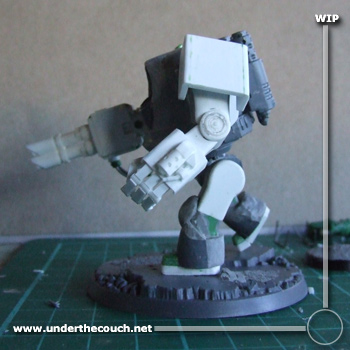
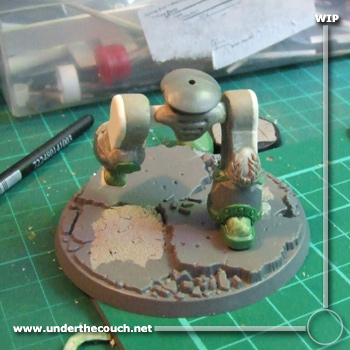
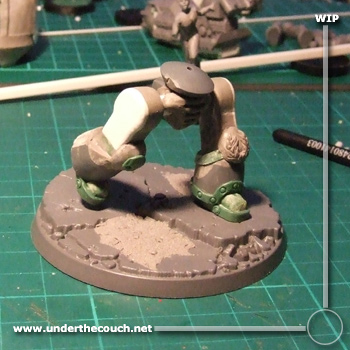
This bit’s always fun: He’s all tacked together, to see how he looks standing up…
The shins are too short. I’m looking at removing the feet, and reattaching them slightly lower down. I’ll also probably extend the top edge of the shin armour slightly before adding the kneepads on.
—
Smoothed down the new putty on the torso:
Added the rim detail to the first shoulder pad:
And started bulking up the legs:
—
First leg smoothed down a little and putty on the second:
—
At this point, with a little careful pinning, he stands on his own:
—
A little more work on the shoulder pads:
Started sorting out the autocannon to take a second ammo cannister:
A little final gap-filling and detail on the powerfist and hammer:
And started the trim on his shins:
—
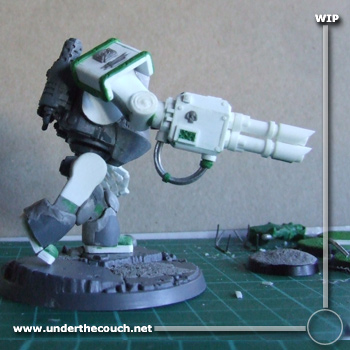
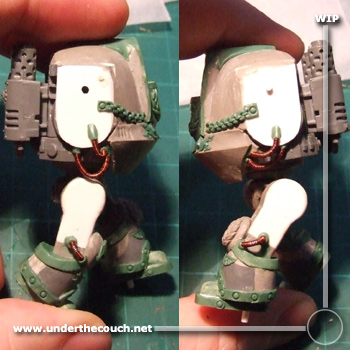
Added the chapter badge to the other shoulder pad:

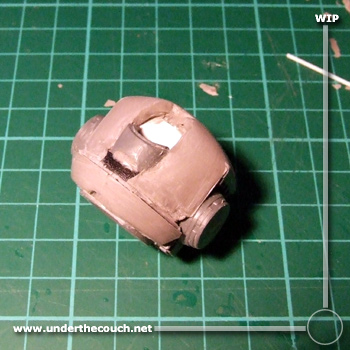
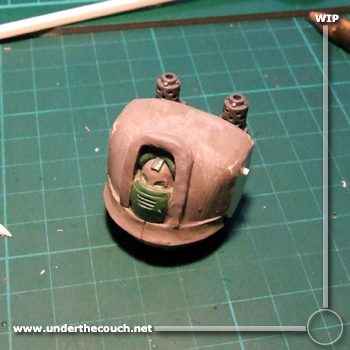
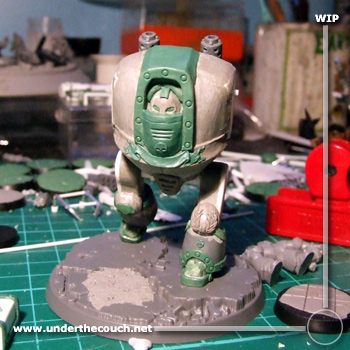
Did a little more leg work, and added the head.
Not happy with the head. It’s a little too small, and the hood sits too low… should extend up to just above his back.
So I’ll be cutting it out and doing it over.
I think the right arm could use a slight reposition as well… he’s got a bit of a ‘gi’s a hug then’ thing going on. Dropping the elbow to his side a little more, and lifting the arm a little to the front should give him more of a ‘charging forward whilst firing, bwahahah’ sort of feel.
—
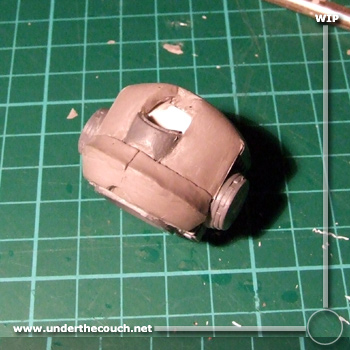
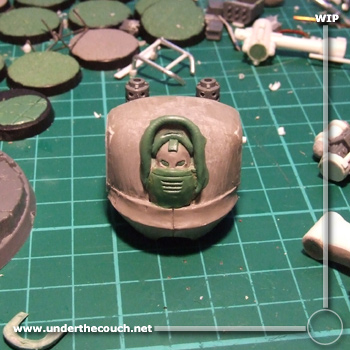
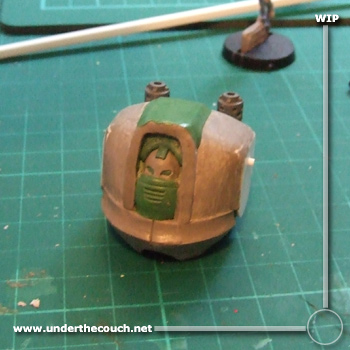
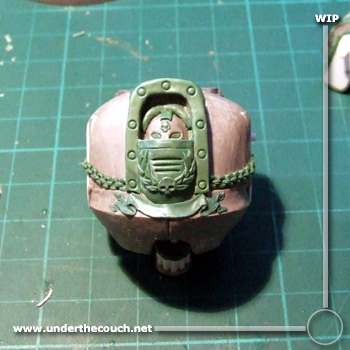
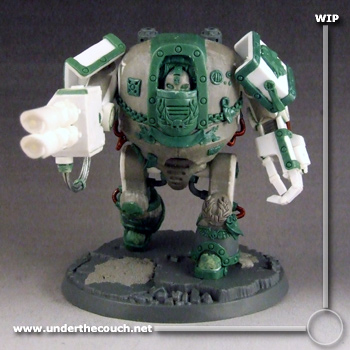
New head in place. The hood’s obviously not finished at this point, so it’s a little hard to tell how it sits overall, but I’m much happier with the size and shape so far.
Also added a little more detail on the legs and dccw:
—
A bit of bulking out and evening up on the hood. Once that’s set, I can smooth it down and add the detail layer.
A little more finishing off on the Dreadnought’s CCW:
And bulked out the other foot, and added a hinge for the ‘toes’ to bend:
—
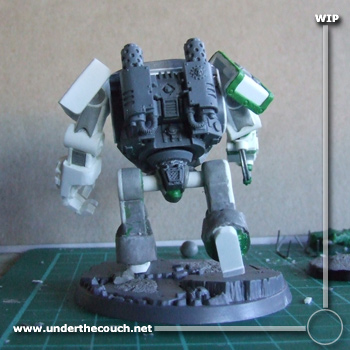
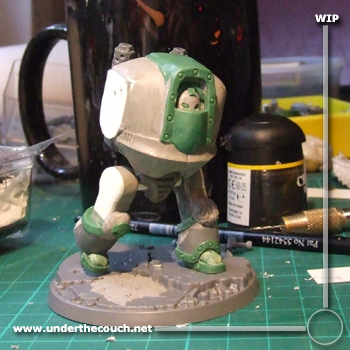
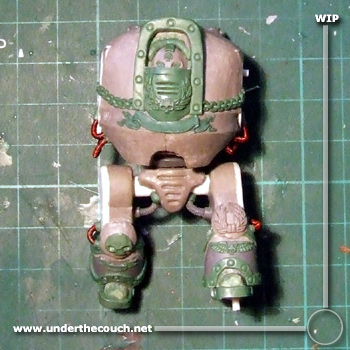
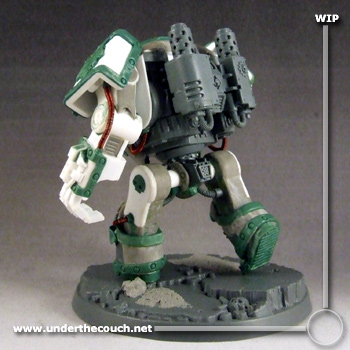
Extended the ‘hood’ back over the shoulders.
So, with the new hood and torso front in place, and the banding started on the other leg, he looks like this:
—
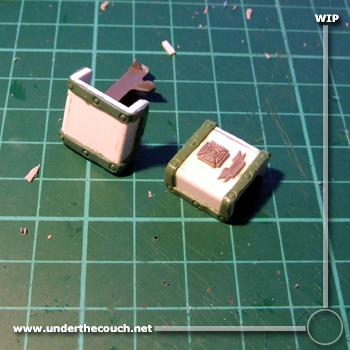
Building the second ammo cannister for the autocannon:
Other than that, at this point it’s largely just down to detail work:
—
Some more detail work:

—
Added some tread to the bottom of the feet:
A little more torso detailing:
And the autocannon, with second drum in place:
—
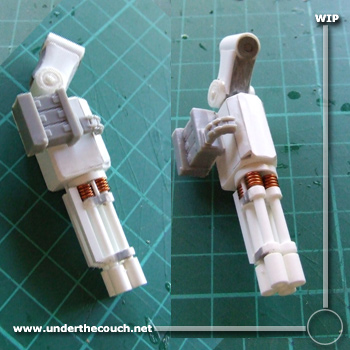
Started adding power cables:

—
And with a couple other minor details sorted out, he’s done:

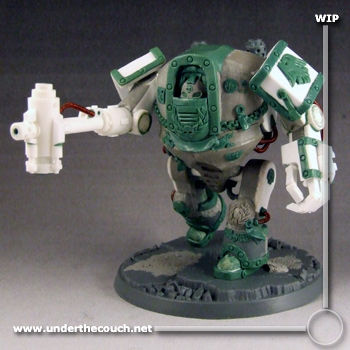
You can find the rest of the finished pictures including all of the weapon options, in the gallery here.