A conversion log by Iain Wilson.
Back in 2004 when 4th edition Warhammer 40000 was released, I took one look at the crashed Aquila shuttle that was included in the box as battlefield scenery and thought: Hey, you know what would be fun? Putting that back together…
So over the next two weeks I did, and was lucky enough to win a Bronze Demon at the 2004 (and last) Australian Games Day.
For the curious or the nostalgic, here’s a bit of a run-down on how this piece came together.
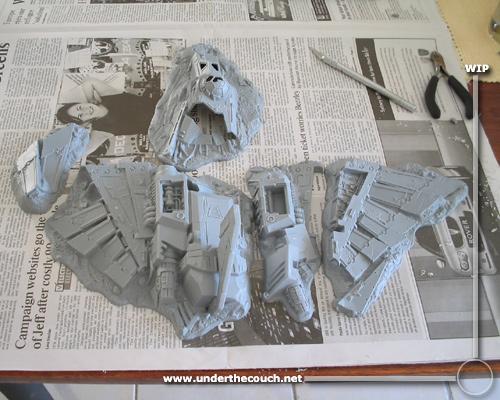
Despruing.
I started by cutting all of the pieces off the sprue, and ‘fitting’ them all into place to get a feel for the basic shape of the original shuttle.
Trimming.
I carefully cut away the edges on the pieces where the shuttle sections needed to fit together. This included boring out the jet exhausts, and cutting away the plugs from the jet intakes so that they could be replaced with fans made from circles of plasticard.
I also trimmed the plastic ‘glass’ out of the cockpit canopy and spotter’s dome, so that this could be replaced with clear panels.
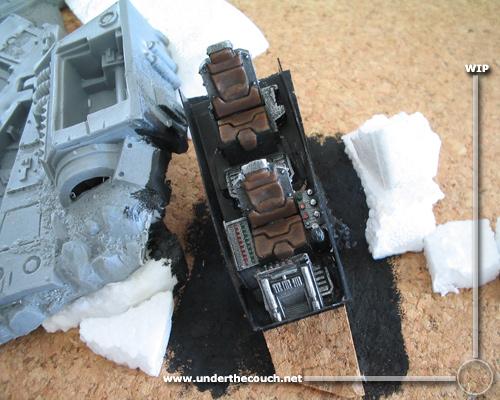
A place to sit.
I built a cockpit interior, using an old attack bike seat and some odd bits and pieces from models kits.

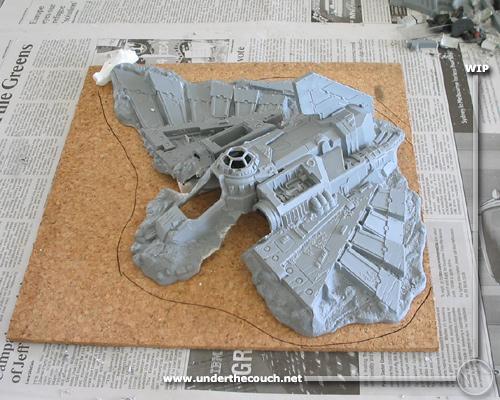
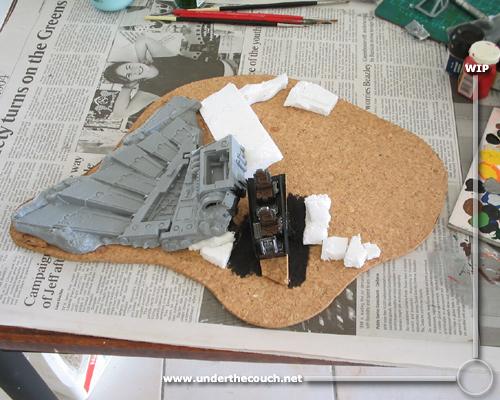
Basing.
I sat the roughly assembled shuttle, propped up with small pieces of polystyrene, on a cork tile and traced an outline for the model’s base, which I then cut out with a stanley knife.
There is another…
I wound up adding a second seat to the cockpit interior assembly, for the spotter’s dome. The interior assembly was then propped up to an appropriate height, glued in place and painted.
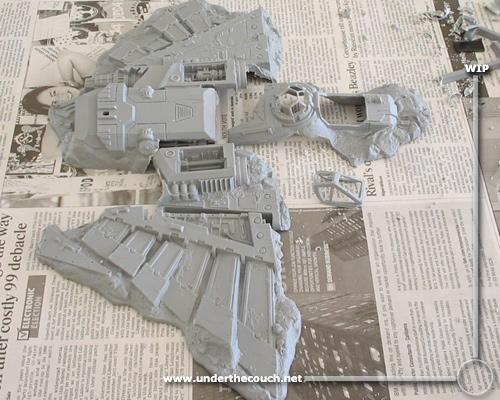
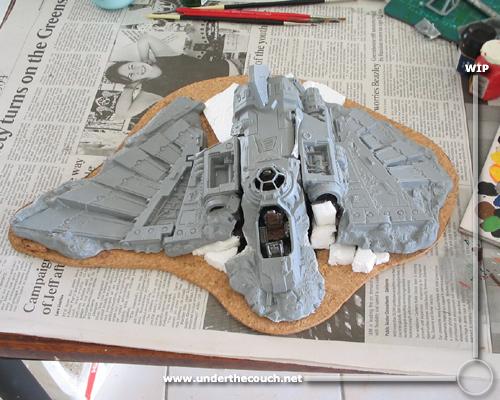
Assembly.
With the cockpit interior in place, the rest of the shuttle could be glued in place around it.
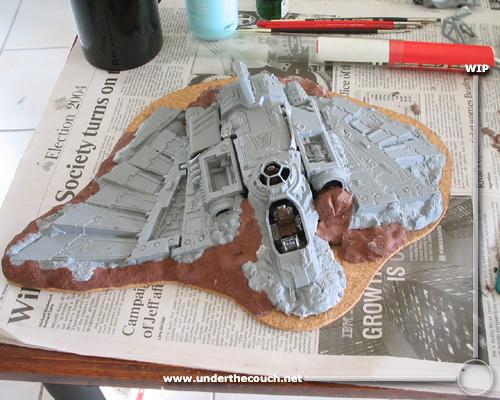
Lumps of it ’round the back…
I then started rebuilding the terrain around the shuttle with quick-setting epoxy putty. This was pushed into place in the rough shape I wanted, and then either shaped into rocks with a sculpting tool, or textured into rough soil with an old toothbrush.
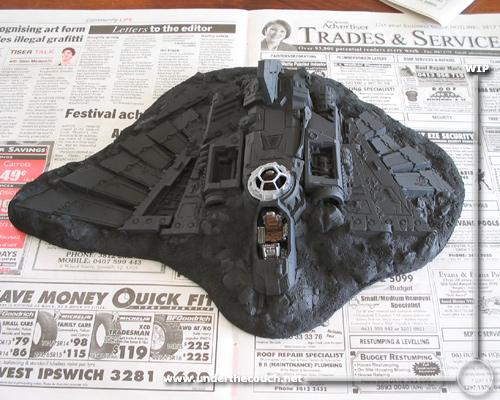
Undercoating
By the time I was ready to start painting, I was starting to run low on time, so I didn’t get many pictures of the process.
I needed to mask off the cockpit interior so I could spray the outside. So, I slipped a piece of cardboard inside the cockpit, curved over the top of the seat. A paintbottle lid turned out to be a perfect size to slip over the spotter’s dome.
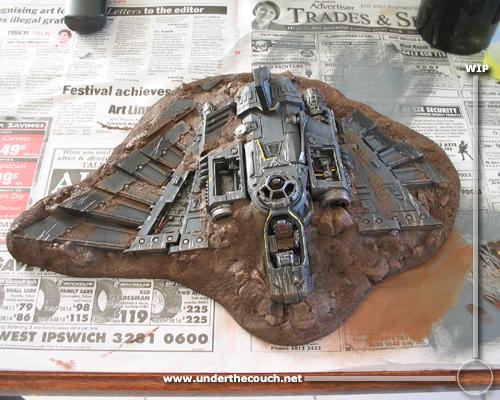
Scramble!
Then it was just frantic paint time…
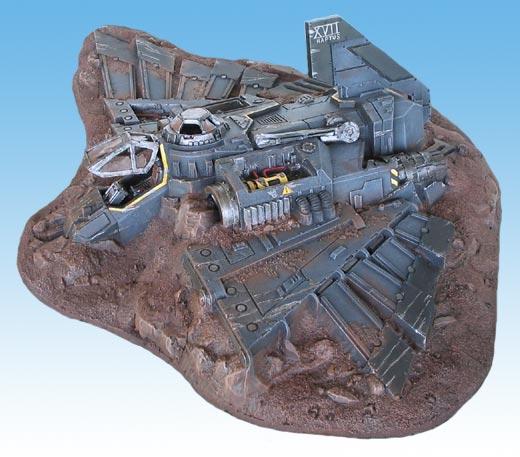
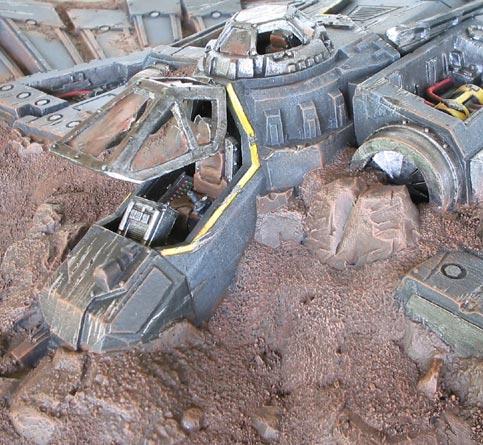
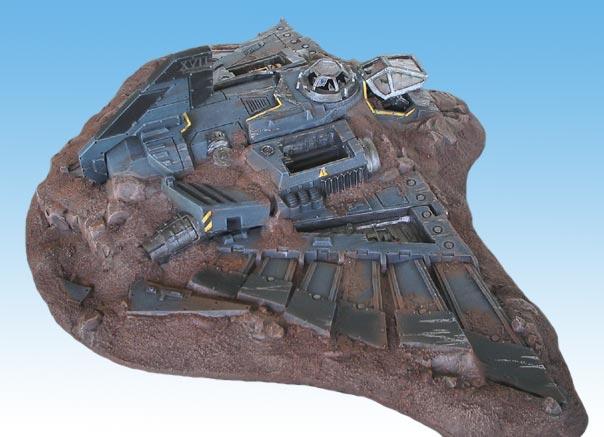
The bulk of the shuttle was drybrushed grey, with battle damage and detailing added in where appropriate. The following picture is where it stood just before heading off to Sydney. I think I did get the cockpit glass glued in place before leaving, but final detailing and touch-ups happened in the hotel room half an hour before heading over to register…
The final piece:
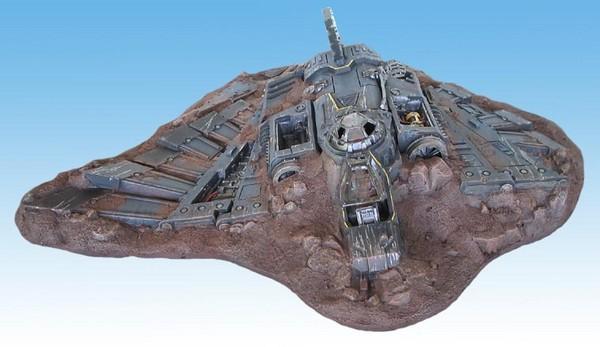
I hope you've enjoyed this trip down Nostalgia Lane as much as I have. Stay tuned for more modeling articles to come!
One thought on “Aquila Landed – ‘reassembling’ the crashed shuttle from Battle For Macragge”